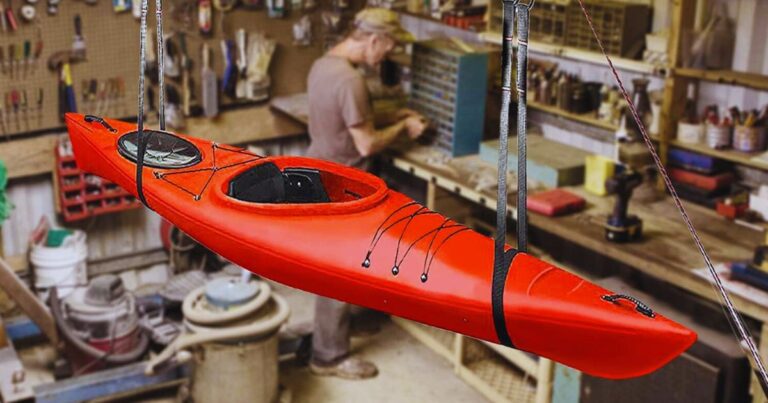
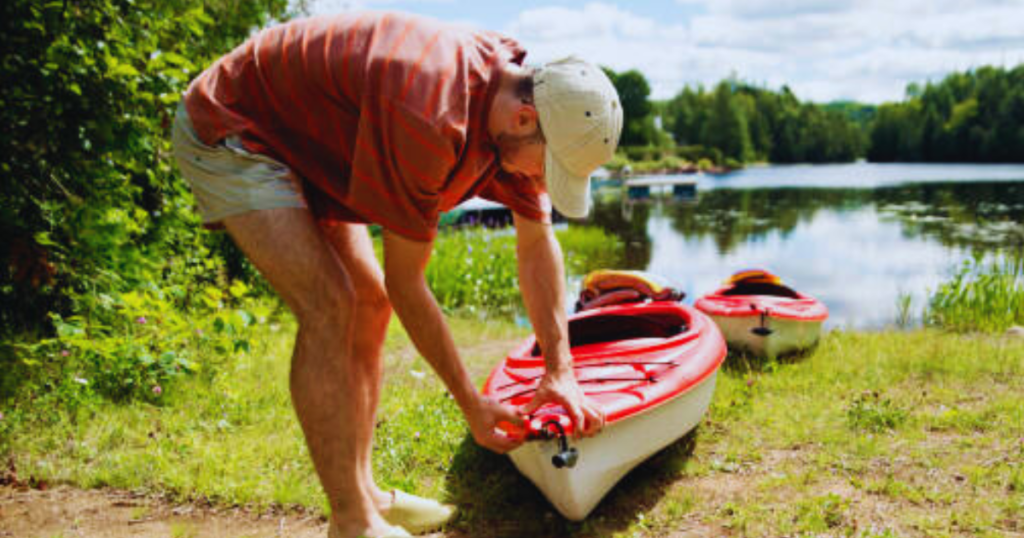
Did you know that with the right TLC, your trusty red kayak could be your paddling companion for up to a decade or more? No kidding! When I first got my cherry-red beauty, I thought a quick rinse after each trip would do the trick. Boy, was I in for a wake-up call?
Let me tell you, friends, proper kayak maintenance isn’t just about keeping your ride looking sharp (though that’s definitely a perk). It’s about safety, performance, and squeezing every last drop of adventure out of your investment. Trust me, I learned this the hard way after a particularly embarrassing incident involving a neglected seam and an unexpected swim. Not my finest hour.
But here’s the thing you don’t need to be a nautical engineer to keep your red kayak in tip-top shape. What you do need, however, is the right set of tools in your arsenal. Think of it like having a well-stocked toolbox for your car, except this one’s all about keeping your aquatic chariot ready for action.
In this guide, I’m going to walk you through the 10 must-have tools that’ll make you the master of red kayak upkeep. From cleaning to repairs, we’re covering all the bases. And the best part? Most of these tools are probably easier to use than paddling against the current (which, let me tell you, I’ve done more times than I care to admit).
1. Microfiber Cleaning Cloths: Your Kayak’s Best Friend

Let me tell you, friends, when I first started out, I thought any old rag would do for cleaning my kayak. Big mistake! It wasn’t until I accidentally scratched my beautiful red beast that I realized the magic of microfiber.
These little clothes are like the Swiss Army knife used to clean a kayak. They’re soft enough to be gentle on your kayak’s surface but tough enough to tackle stubborn grime. And the best part? They don’t leave those annoying lint bits all over your freshly cleaned kayak.
I remember the first time I used a microfiber cloth on my kayak it was like watching those satisfying cleaning videos, except I was the star. The way it picked up dirt and left a streak-free shine was nothing short of miraculous.
Pro Tip: Get yourself a pack with different colours. I use blue for the hull, green for the deck, and yellow for the cockpit. It helps prevent cross-contamination and makes me feel extra organized (even if the rest of my gear is a jumbled mess).
When it comes to brands, I’ve had great luck with MicroFiber Wholesale’s clothes. They’re durable and seem to last forever. But honestly, as long as you’re getting actual microfiber and not some knock-off, you should be golden.
Just remember, treat these clothes right and they’ll return the favor. Wash them separately from your other laundry (no fabric softener, please), and they’ll keep your kayak gleaming for years to come.
2. Biodegradable Kayak Soap: Gentle yet Effective
When I first started kayaking, I thought dish soap would do the trick for cleaning. I mean, it’s good enough for my plates, right? Wrong! I cringe now thinking about all those harsh chemicals I unknowingly introduced to the waterways.
Enter biodegradable kayak soap the eco-warrior’s choice for a squeaky clean vessel. This stuff is like a magic potion that cuts through grime without harming Mother Nature. And let’s be real, as kayakers, we owe it to the environment to keep things green.
Choosing the right soap for your red kayak is crucial. Look for something pH-neutral to avoid stripping any protective coatings. I’m a big fan of Starbryte’s Sea Safe Boat Wash. It’s gentle on my kayak but tough on dirt, and it gives me peace of mind knowing I’m not leaving a chemical trail in my wake.
When it comes to application, less is more. I learned this the hard way after creating a bubble monster that took forever to rinse off. A capful in a bucket of water is usually plenty. And here’s a neat trick I picked up: use a spray bottle for spot cleaning. It’s a game-changer for those hard-to-reach nooks and crannies.
3. Protective Wax: Shielding Your Red Beauty
Waxing a kayak? I know it sounds like something only die-hard enthusiasts would do. But trust me, once you see how a good waxing can make your red kayak pop, you’ll be a convert.
Waxing isn’t just about looks (though who doesn’t love a glossy finish?). It’s like sunscreen for your kayak, providing an extra layer of protection against UV rays, scratches, and stains. Plus, it makes future cleanings a breeze dirt just slides right off.
For red kayaks, I swear by 303 Marine Wax. It brings out that vibrant red color and provides killer UV protection. But whatever you choose, make sure it’s specifically designed for marine use.
Now, applying wax might seem daunting, but it’s actually pretty straightforward. Start with a clean, dry kayak. Apply the wax in small circular motions (I use old socks over my hands works like a charm!). Let it dry to a haze, then buff it out with a clean microfiber cloth. The result? A red kayak so shiny you can see your reflection.
4. Spray-on UV Protectant: Guard Against Sun Damage
Let me tell you about the time I left my kayak out in the sun for the whole summer. By fall, my once vibrant red beauty looked more like a sad, faded tomato. Lesson learned: UV rays are no joke when it comes to kayak care.
That’s where spray-on UV protectant comes in clutch. Think of it as sunscreen for your kayak. It forms an invisible shield against those harsh rays, keeping your red kayak from turning pink (and trust me, pink is not a good look for a kayak).
I’m a big fan of 303 Aerospace Protectant. A quick spray after cleaning and my kayak is armoured up against sun damage.
Application is a breeze, but here’s a pro tip: apply it in the shade. Direct sunlight can cause it to evaporate before it sets. And don’t forget those often-overlooked spots like under the hatches. UV damage doesn’t discriminate.
5. Rubber Sealant: Waterproofing Wonder
You’re out on a beautiful day, enjoying your red kayak, when suddenly you realize your feet are getting wet. This exact scenario led me to discover the wonders of rubber sealant.
Rubber sealant is like a magic eraser for those tiny cracks and worn seams that can turn your relaxing paddle into an unexpected swimming lesson. It’s flexible, waterproof, and can be a real lifesaver (sometimes literally).
I always keep a tube of Aquaseal UV in my kayak repair kit. It’s easy to apply, cures quickly and has saved my bacon more times than I can count.
When applying, make sure your kayak is clean and dry. Squeeze out a thin line along the seam or crack, then smooth it out with your finger (pro tip: a little dish soap on your finger prevents the sealant from sticking to you instead of the kayak). Let it cure, and voila you’re back to being watertight.
6. Sandpaper Set: Smooth Operator
Now, I know what you’re thinking. Sandpaper? On my precious kayak? I had the same thought initially. But let me tell you, a good sandpaper set can be a game-changer for kayak maintenance.
Different grits serve different purposes. Coarse grits (60-80) are great for smoothing out major scratches or prepping areas for repair. Medium grits (120-220) help refine the surface, while fine grits (320 and up) are perfect for that final smoothing before applying sealants or paint.
I learned the hard way that sanding a kayak isn’t the same as sanding wood. Always sand in the same direction, and don’t apply too much pressure. You’re aiming to smooth, not reshape.
The areas where I find sanding most useful? Definitely around the keel and the sides where your paddle might occasionally strike. A little routine sanding in these areas can prevent minor abrasions from turning into major headaches down the line.
7. Kayak Repair Kit: Your On-the-Go Savior
If there’s one thing I’ve learned from countless paddling trips, it’s that Murphy’s Law loves kayakers. That’s why a good repair kit is like a life jacket for your peace of mind you hope you never need it, but you’re darn glad to have it when you do.
A solid kayak repair kit should include patches, adhesives, sandpaper, and a small tube of sealant. I swear by the NRS Boat Repair Kit. It’s compact, comprehensive, and has saved my rear end more than once.
The key to using a repair kit effectively? Don’t wait for an emergency to familiarize yourself with it. I once spent an embarrassing amount of time trying to figure out how to use a patch kit in the middle of a lake. Learn from my mistakes, friends.
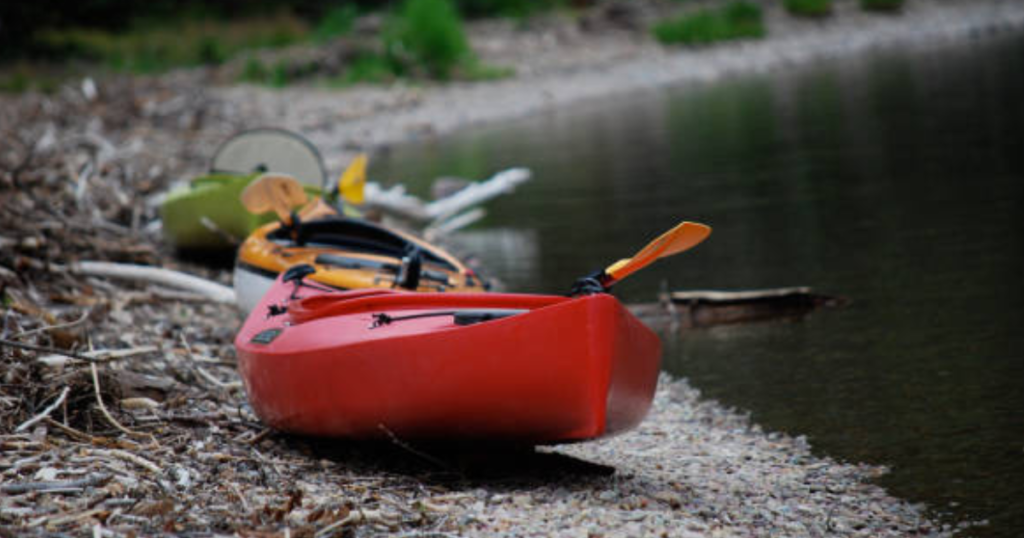
8. Paddle Leash: Prevent Losses and Damages
You’re out on the water, enjoying a beautiful day in your red kayak. Suddenly, a rogue wave hits, and whoops there goes your paddle, floating away faster than you can say “Oh, ship!” Been there, done that, and let me tell you, it’s not fun.
Enter the paddle leash a simple yet ingenious tool that keeps your paddle attached to your kayak. It’s like a seatbelt for your paddle, preventing unexpected swims and potential damages.
When choosing a paddle leash, look for something durable yet flexible. I’m a fan of the Skoken’s leash for its reliability and length.
Installation is a breeze usually just a matter of clipping one end to your paddle and the other to your kayak. And usage? Well, it’s pretty set-and-forget. Just remember to give yourself enough slack to paddle comfortably.
9. Kayak Cart: Effortless Transportation
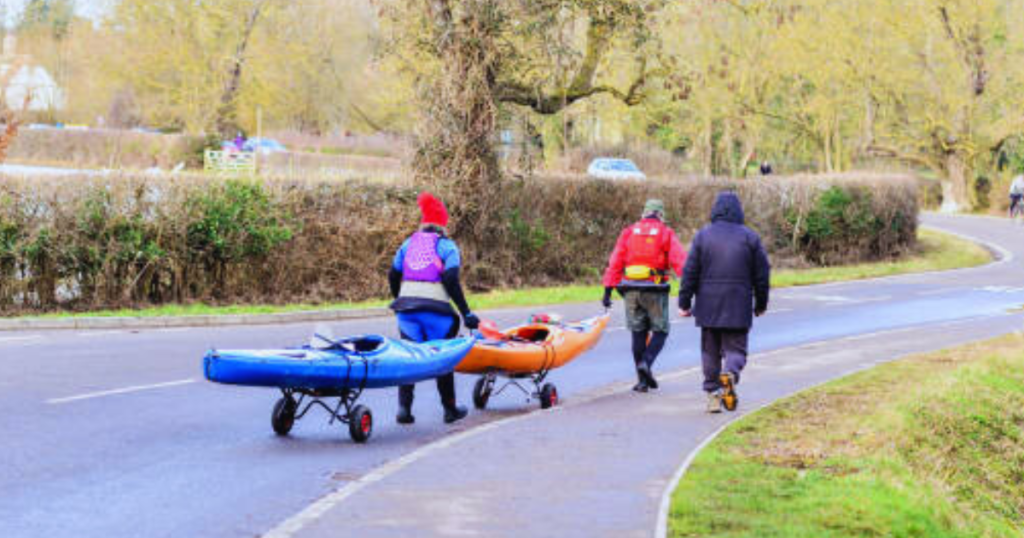
Let me tell you about the time I tried to carry my kayak half a mile to the water. By the time I got there, I was too exhausted to even enjoy paddling! That’s when I realized a kayak cart isn’t just a luxury it’s a back-saving necessity.
A good kayak cart turns the daunting task of kayak transportation into a walk in the park (sometimes literally). It’s all about working smarter, not harder, right?
There are several types of carts out there. I prefer the Honestar Portable Carrier for its sturdiness and ease of use. But whether you go for a plug-in model or a strap-on version, make sure it’s compatible with your kayak’s hull shape.
Using a kayak cart correctly is key. Always lift with your legs, not your back, when loading the kayak. And make sure to secure it well a runaway kayak is no one’s idea of a good time.
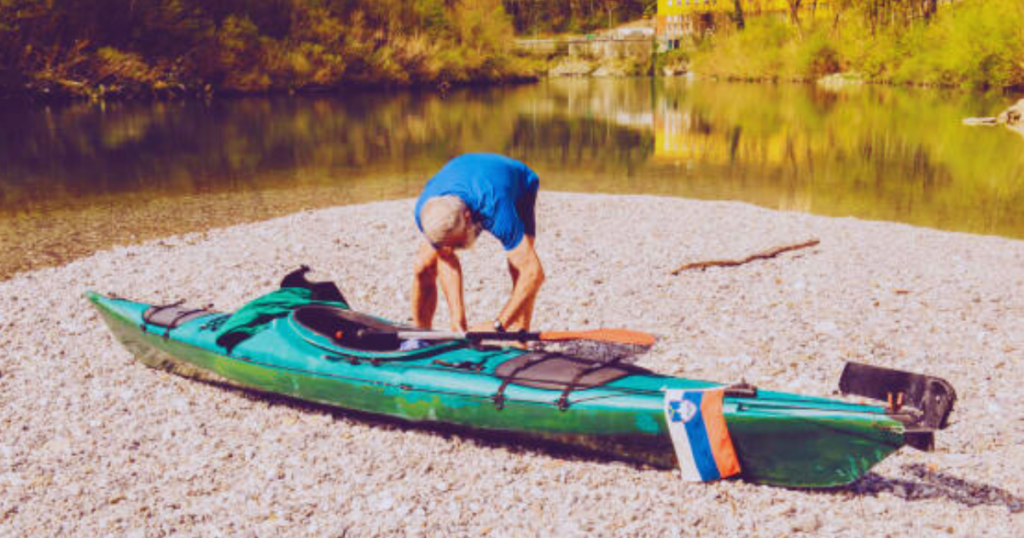
10. Storage Racks or Suspension System: Proper Long-term Care

After a long day on the water, it’s tempting to just prop your kayak against the garage wall and call it a day. Trust me, I’ve been there. But proper storage is crucial for maintaining your kayak’s shape and extending its lifespan.
A good storage solution keeps your kayak off the ground, preventing warping and damage. It also frees up space a win-win in my book!
For indoor storage, I love the StoreYourBoard Ceiling Storage Rack. It utilizes vertical space and keeps my kayak safely out of the way. For outdoor storage, a simple suspension system using strong straps works wonders.
When installing your storage solution, make sure it’s secure and can handle your kayak’s weight. Store your kayak upside down or on its side to prevent water accumulation.
Conclusion
Paddlers, there you have it the 10 essential tools that’ll keep your red kayak looking sharp and performing like a champ for years to come. Trust me, I’ve learned these lessons the hard way so you don’t have to. Remember, a little TLC goes a long way in the world of kayaking. With these tools in your arsenal, you’ll be ready to tackle whatever maintenance challenges come your way. So gear up, show your red beauty some love, and get out there on the water! Oh, and don’t forget to share your own kayak care tips in the comments below. After all, we’re all in the same boat (or kayak) when it comes to keeping our vessels shipshape.
Frequently Asked Questions About Red Kayak Tools
Do I really need special tools for my red kayak? Can’t I just use regular cleaning supplies?
I asked myself the same thing when I first started out! Trust me, while you could use regular supplies, kayak-specific tools are a game-changer. They’re designed to be gentle on your kayak’s material and often environmentally friendly. Plus, they’re usually more effective. I learned this the hard way after using dish soap once and ending up with a filmy residue that took ages to remove. Stick with kayak-specific tools your red beauty will thank you.
How often should I wax my red kayak?
The frequency really depends on how often you use your kayak and where you store it. As a general rule of thumb, I wax mine every 3-4 months during the paddling season. If you’re a weekend warrior like me, that’s about right. But if you’re out there every day or storing your kayak outside, you might want to bump that up to every 6-8 weeks. Remember, a well-waxed kayak is a happy kayak.
Is it safe to use sandpaper on my red kayak?
I totally get the hesitation – I was scared to death the first time I took sandpaper to my kayak! But yes, it’s safe when used correctly. The key is to use the right grit and not go overboard. Start with a finer grit (like 220) for minor scratches. Only use coarser grits (like 80) for major repairs. And always sand in the same direction, gently. Think of it as giving your kayak a spa treatment, not a beating.
What’s the best way to store my kayak tools?
After fumbling around with loose tools one too many times, I’ve become a bit of an organization nut. I keep most of my kayak tools in a waterproof toolbox that I can easily take with me on trips. For smaller items like my microfiber cloths and sealants, I use a separate dry bag. It keeps everything together and protected from the elements. Plus, it makes packing for a kayak trip a breeze.
Can I use the same UV protectant on my paddle as I do on my red kayak?
The short answer is yes, you can. Most kayak-specific UV protectants are safe for use on paddles too. I use the same 303 Aerospace Protectant on both my kayak and paddle. Just be sure to apply it to all exposed surfaces of your paddle, including the shaft. Your hands will appreciate the extra UV protection too.
How do I know if my kayak repair kit is complete?
A good repair kit should be like a good friend – there when you need it most. At a minimum, it should include patches, adhesives, sandpaper, and a small tube of sealant. I also throw in a few zip ties, a multi-tool, and some duct tape for good measure. Remember that one time I fixed a broken backrest with duct tape mid-trip? Lifesaver! Check your kit before each season and replace any used or expired items.
Are kayak carts worth the investment?
If you’d asked me this a few years ago, I might have said no. But after one too many back-straining carries to the water, I’m a total convert. A good kayak cart is absolutely worth it, especially if you frequently paddle solo or have to traverse longer distances to your launch point. It’s saved my back (and my enthusiasm) more times than I can count.
Can I use my red kayak tools on other colour kayaks?
It reminds me of when I first got my red kayak and thought I needed ‘red kayak specific’ everything. The truth is, that most kayak maintenance tools are color-neutral. The cleaning solutions, waxes, and protectants that work great on your red kayak will work just as well on your buddy’s blue one.

Nigel Foster, born in 1952, is an esteemed sea kayaker, known for being the youngest to kayak around Iceland. His journey in kayaking started at 15 in Brighton, England. With a career beginning as a trainee instructor in Sussex, he later pursued teaching after attending Redland College, Bristol.
Foster’s notable expeditions include navigating the challenging waters of Newfoundland and the Hudson Strait. Despite facing intense conditions, his passion for kayaking never waned. He holds several British Canoe Union qualifications and has significantly contributed to the kayaking community through teaching and committee work.
In 1985, Foster expanded his horizons by assisting an expedition in Iceland and later founded his own kayaking business, sharing his expertise globally.