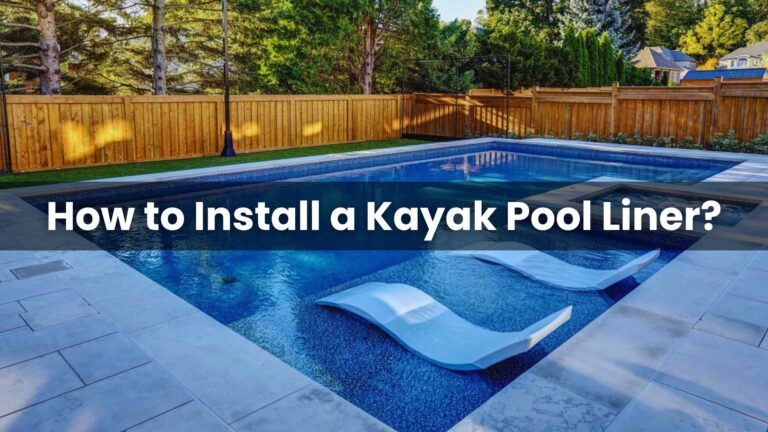
Kayak pools have become increasingly popular in recent years, offering a unique and space-efficient way to enjoy the benefits of a backyard pool.
These above-ground pools are designed to resemble the shape and size of a kayak, making them an attractive option for homeowners with limited yard space. However, properly installing the pool liner is crucial to ensure the pool’s longevity and functionality.
In this article, we’ll walk you through the step-by-step process of how to install a Kayak pool liner, from preparing the pool to filling and finishing the installation.
What is a Kayak Pool Liner?
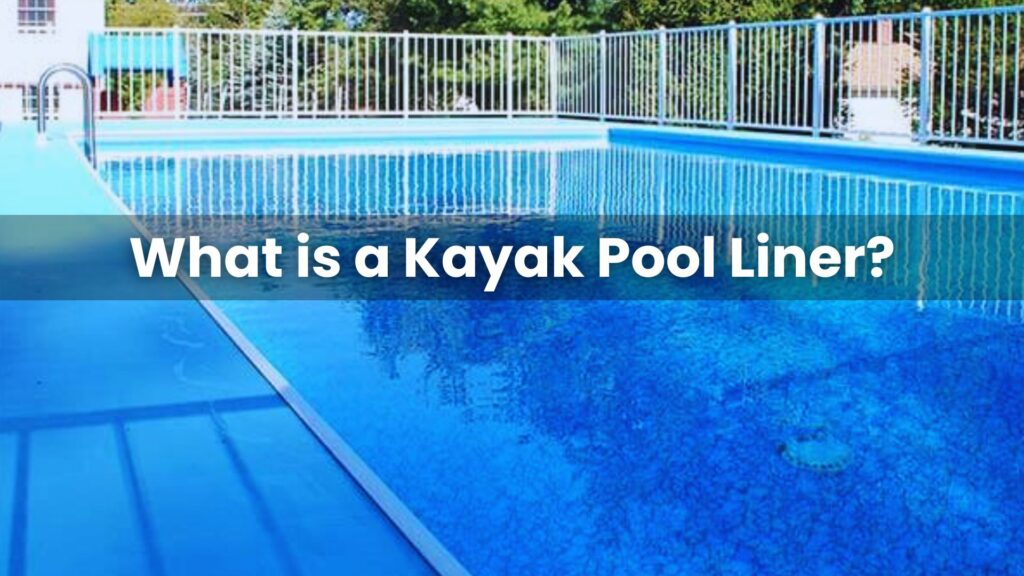
A Kayak pool liner is a durable and fade-resistant vinyl liner used to line the interior of an above-ground Kayak swimming pool. These liners are designed to provide long-lasting protection and vibrant color for the life of the pool.
Kayak pool liners feature a 25-mil thick dual layer construction, treated with an ultra-violet inhibitor and an anti-bacterial coating. This helps prevent algae growth and color fading, keeping the liner looking fresh and clean for years. The liners are constructed from virgin vinyl, free of recycled plastics, and have overlapping double-welded seams for an ultra-durable, continuous seal.
Replacing a Kayak pool liner becomes necessary over time as the liner is exposed to the sun’s UV rays, pool chemicals, and temperature changes, which can cause cracking, tearing, and fading. When a patch is no longer sufficient, it’s time to invest in a new replacement liner. Precise measurements are crucial to ensure you select the correctly sized liner for your Kayak pool.
Kayak and Fanta-Sea pools have specific bead attachment styles, so it’s important to choose a replacement liner with the right bead style for your pool. Many retailers offer a variety of liner patterns in the Kayak/Fanta-Sea bead style, allowing you to upgrade your backyard style.
Preparing for Kayak Pool Liner Installation
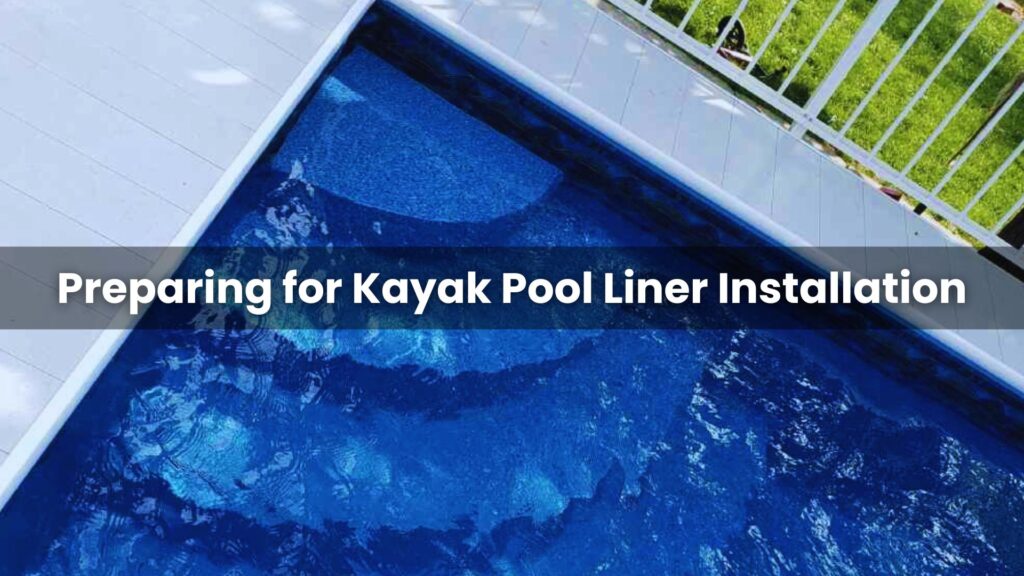
Before diving into the installation process, proper preparation is crucial for ensuring a smooth and successful Kayak pool liner installation. This initial stage sets the foundation for a well-fitted liner that will serve you for years to come.
1. Gather Necessary Tools and Materials
- Kayak pool liner (sized correctly for your pool)
- Utility knife
- Vacuum cleaner
- Measuring tape
- Liner lock strip (if required)
- Screwdriver
- Rubber mallet
- Pool adhesive
- Clean towels or rags
2. Drain and Clean the Pool
Begin by completely draining your pool. Once empty, thoroughly clean the pool surface, removing any debris, algae, or dirt. Pay special attention to corners and crevices where grime tends to accumulate. A clean surface is essential for proper liner adhesion.
3. Inspect and Repair the Pool Structure
Carefully examine the pool walls and floor for any damage, cracks, or irregularities. Address these issues before proceeding:
- Fill small cracks with hydraulic cement
- Sand down any rough spots or sharp edges
- Replace any damaged or corroded fasteners
4. Measure and Verify Dimensions
Double-check your pool’s measurements to ensure the new Kayak liner will fit perfectly. Pay attention to:
- Length and width of the pool
- Depth at shallow and deep ends
- Wall height
5. Remove old Fittings and Accessories
Take out all removable components such as:
- Skimmer faceplates
- Return jet fittings
- Underwater lights
- Ladder anchors
- Drain covers
Store these parts safely for reinstallation later.
6. Install a Protective Underlayment (Optional But Recommended)
A pool underlayment provides an extra layer of cushioning and protection for your new liner. It helps to:
- Smooth out minor imperfections in the pool floor
- Increase comfort for swimmers
- Extend the life of your liner
7. Regulate Temperature and Humidity
For optimal installation conditions:
- Choose a warm, sunny day for the project
- Aim for an air temperature between 60°F and 80°F (15°C to 27°C)
- Avoid excessively humid conditions, as moisture can interfere with adhesive bonding
8. Prepare the Work Area
Clear the area around the pool to ensure easy access and movement during installation. Set up a clean, dry space to unpack and inspect your new Kayak liner.
Steps to Install a Kayak Pool Liner
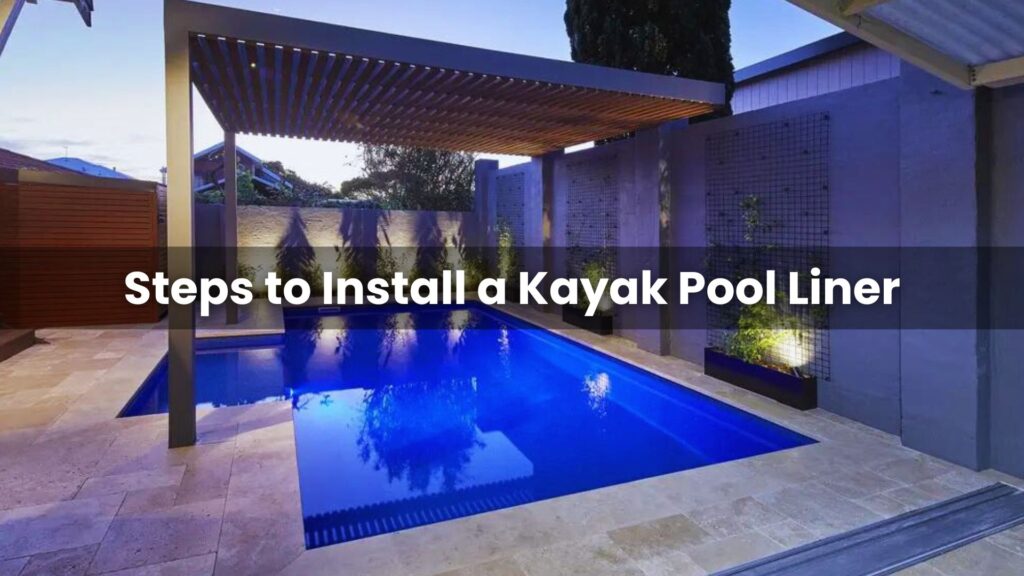
Installing a Kayak pool liner may seem daunting at first, but with careful preparation and attention to detail, it can be a manageable DIY project. Follow these steps to ensure a smooth installation process:
1. Preparation: Begin by draining your pool completely. Remove any accessories such as ladders, lights, and skimmer baskets. Thoroughly clean the pool surface, removing any debris or algae.
2. Inspection: Carefully examine the pool walls and floor for any damage, cracks, or rust spots. Repair these issues before proceeding to ensure a proper fit for your new liner.
3. Measurements: Double-check your pool’s dimensions to confirm you have the correct size liner. Measure the length, width, and depth at various points.
4. Wall Strips: Install foam cove strips along the base of the pool walls to create a smooth transition between the wall and floor. This helps prevent wrinkles and extends the life of your liner.
5. Liner Placement: Carefully unfold the liner and position it in the center of the pool. Start by securing the liner at the top of the walls using coping strips or liner lock.
6. Smoothing: Work your way around the pool, smoothing out wrinkles as you go. Use a soft broom or your feet (in clean socks) to push the liner into place.
7. Vacuum Fitting: Attach a vacuum to the skimmer hole to create suction between the liner and pool wall. This helps eliminate air pockets and ensures a snug fit.
8. Water Addition: Begin filling the pool with water, continually adjusting the liner as it fills to maintain proper positioning.
9. Final Adjustments: As the pool fills, make final adjustments to ensure the liner is smooth and properly aligned.
10. Accessory Reinstallation: Once the pool is filled, carefully cut out holes for skimmers, returns, and other accessories. Reinstall these items, ensuring a watertight seal.
“Proper preparation is key to a successful liner installation. Take your time with each step, and don’t rush the process.”
Here’s a quick reference table for the tools you’ll need:
| Essential Tools | Optional Tools |
| Utility knife | Shop vacuum |
| Measuring tape | Soft broom |
| Screwdriver set | Rubber mallet |
| Pliers | Liner lock tool |
| Clean socks | Heat gun |
Maintaining the Kayak Pool Liner
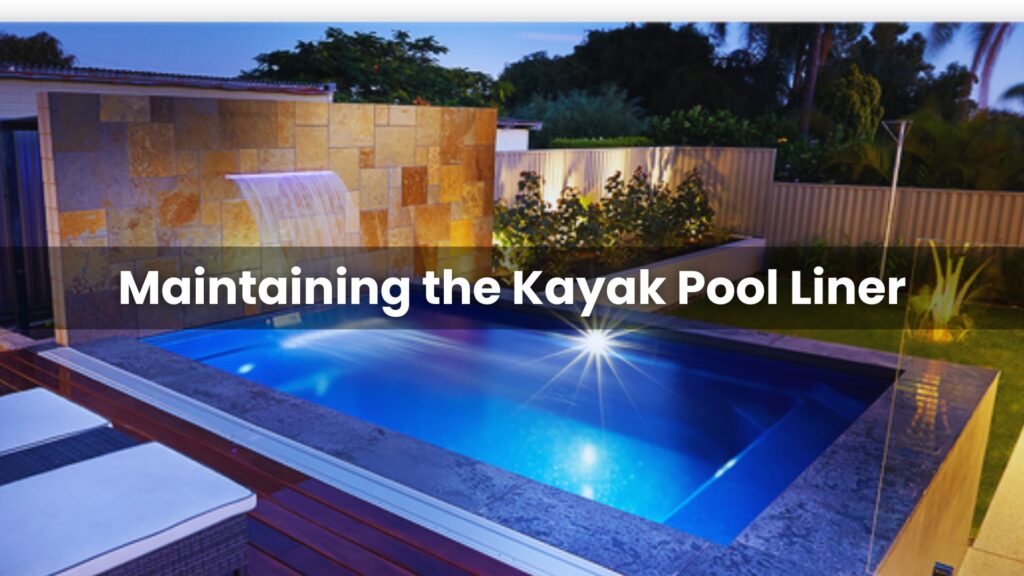
After successfully installing your Kayak pool liner, regular maintenance becomes key to preserving its beauty and functionality. A well-maintained liner can last up to 10-15 years, making your investment truly worthwhile.
Daily Maintenance: Start by skimming the pool surface daily to remove leaves, insects, and other debris. This simple task prevents these materials from sinking and potentially staining your liner. Use a soft-bristled brush to gently clean the waterline, where oils and dirt tend to accumulate.
Chemical Balance: Maintaining proper water chemistry is crucial for liner longevity. Test your pool water at least twice a week and adjust chemicals as needed. Here’s a quick reference guide for ideal chemical levels:
| Chemical | Ideal Range |
| pH | 7.2 – 7.6 |
| Chlorine | 1 – 3 ppm |
| Alkalinity | 80 – 120 ppm |
| Calcium Hardness | 200 – 400 ppm |
Avoid Harsh Chemicals: Be cautious with the products you use. Avoid cleaners containing abrasives, solvents, or strong detergents. These can damage the liner’s surface and cause premature aging. Stick to cleaners specifically designed for vinyl pool liners.
Addressing Stains:
If you notice stains on your liner, act quickly. Identify the type of stain (organic, metal, or chemical) and treat it accordingly. For instance:
- Organic stains (leaves, algae): Brush and shock the pool
- Metal stains (rust): Use a metal sequestrant
- Chemical stains: Adjust water balance and scrub gently
Winter Care: Proper winterization is essential for liner protection. Lower the water level below the skimmer, but never completely drain the pool as this can cause the liner to shrink or crack. Use a winter cover to protect from debris and harsh weather.
“The key to a long-lasting pool liner is consistent, gentle care. Treat your liner with respect, and it will reward you with years of enjoyable swimming.”
Avoid Sharp Objects: Instruct swimmers to remove sharp jewelry before entering the pool. Keep pets with sharp claws out of the pool area. When cleaning, avoid using sharp tools that could puncture the liner.
Regular Inspections: Perform a thorough inspection of your liner at least once a season. Look for signs of wear, discoloration, or small tears. Catching and addressing issues early can prevent more significant problems down the line.
Professional Services: While much of the maintenance can be done yourself, consider having a professional service your pool annually. They can perform a deep clean, check for potential issues, and ensure your pool equipment is functioning optimally.
Conclusion
Installing a Kayak pool liner may seem daunting, but by following the steps outlined in this comprehensive guide, you can ensure a successful and long-lasting installation. Remember to take your time, measure accurately, and pay close attention to the details throughout the process. With the right preparation and care, your Kayak pool will provide years of enjoyment and relaxation for you and your family.
Frequently Asked Questions About Installing Kayak Pool Liners
How long does it take to install a Kayak pool liner?
The installation process for a Kayak pool liner typically takes just one full work day to complete. Kayak Pools Guys, an authorized dealer and installer, states that “the installation itself generally takes just one working day.” This efficient timeline is due to the straightforward nature of Kayak’s pool construction, which features rust-free, rot-free, and maintenance-free WaterWalls.
Can I install a Kayak pool liner in cold weather?
It is generally not recommended to install a Kayak pool liner in cold weather. The liner material is designed to be flexible and pliable, which is easier to achieve in warmer ambient temperatures. Attempting an installation in cold weather could cause the liner to become stiff and difficult to maneuver, potentially leading to wrinkles or other issues. For best results, Kayak recommends scheduling your liner installation during the spring or summer months when temperatures are more favorable.
How often should I replace my Kayak pool liner?
Kayak pool liners are designed to provide long-lasting performance, with a limited lifetime warranty to back it up. While the exact lifespan can vary depending on factors like usage and maintenance, many Kayak pool owners report getting 10-15 years of use out of their original liner. However, it’s important to regularly inspect the liner for any signs of wear or damage and replace it if necessary to ensure the continued safety and enjoyment of your pool.
Can I use a Kayak pool liner for an above-ground pool?
Yes, Kayak pool liners are specifically designed for use in above-ground pools. Kayak’s WaterWalls provide the perfect wall structure for on-ground pool construction, offering a rust-free, rot-free, and maintenance-free solution. The liners are engineered to fit Kayak’s pool designs, ensuring a secure and seamless installation.
What should I do if my Kayak pool liner is too big or too small?
If your Kayak pool liner is not the correct size for your pool, it’s important to address the issue promptly. A liner that is too big may lead to wrinkles, sagging, and potential leaks, while a liner that is too small will not fit properly and could cause damage to the pool structure. In either case, you should contact Kayak Pools Guys or another authorized Kayak dealer for guidance on obtaining the right-sized liner for your pool. They can help you determine the proper dimensions and facilitate a replacement liner that will fit your pool perfectly.

Nigel Foster, born in 1952, is an esteemed sea kayaker, known for being the youngest to kayak around Iceland. His journey in kayaking started at 15 in Brighton, England. With a career beginning as a trainee instructor in Sussex, he later pursued teaching after attending Redland College, Bristol.
Foster’s notable expeditions include navigating the challenging waters of Newfoundland and the Hudson Strait. Despite facing intense conditions, his passion for kayaking never waned. He holds several British Canoe Union qualifications and has significantly contributed to the kayaking community through teaching and committee work.
In 1985, Foster expanded his horizons by assisting an expedition in Iceland and later founded his own kayaking business, sharing his expertise globally.