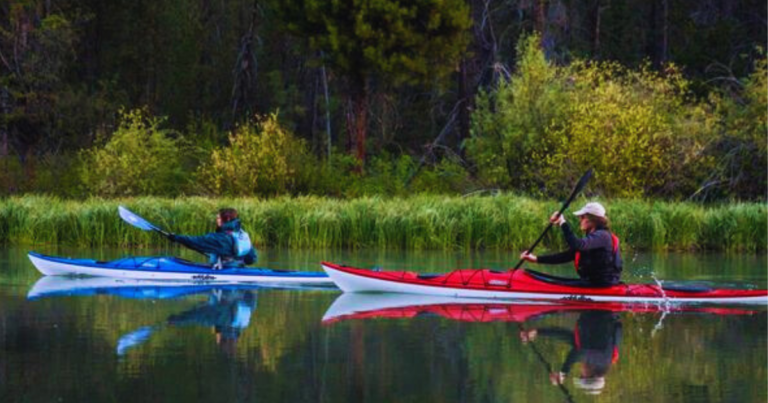
There’s nothing quite like gliding across crystal-clear waters in your vibrant vessel, turning heads as you paddle by. But let’s face it life happens, and sometimes that stunning red finish ends up looking more like a Jackson Pollock painting than the sleek beauty you brought home from the store.
I’ll never forget the day I discovered a massive oil stain on my prized red kayak. There I was, ready for a peaceful day on the lake when BAM! I spotted that ugly, dark smear right on the hull. I nearly called the whole trip off right then and there.
But here’s the thing, fellow paddlers stains happen to the best of us. Whether it’s sneaky algae creeping up the sides, rust marks from forgotten fishing gear, or the aftermath of an unfortunate encounter with a flock of seagulls, keeping your red kayak looking sharp can feel like a full-time job.
Now, I could sit here and tell you that maintaining a clean kayak is all about preserving its value and performance. And sure, that’s true. But let’s be real we want our kayaks to look good because we want to look good out there on the water. Am I right?
Here’s the kicker though removing stains from a red kayak isn’t always as straightforward as it seems. That bold colour we love so much? It can be a bit finicky when it comes to cleaning. Use the wrong product or scrub too hard, and you might end up with a faded patch that stands out even more than the original stain.
But don’t worry, my fellow red kayak enthusiasts I’ve got your back. After years of trial and error (emphasis on the error), I’ve finally cracked the code on banishing those stubborn stains for good. In this guide, we’ll dive into everything you need to know about keeping your red kayak looking fresh and clean.
We’ll cover the usual suspects when it comes to kayak stains, stock your cleaning arsenal with the right tools, and walk through step-by-step instructions for tackling even the toughest marks. By the time we’re done, you’ll be armed with all the knowledge you need to keep your red kayak turning heads for all the right reasons.
Common Types of Stains on Red Kayaks
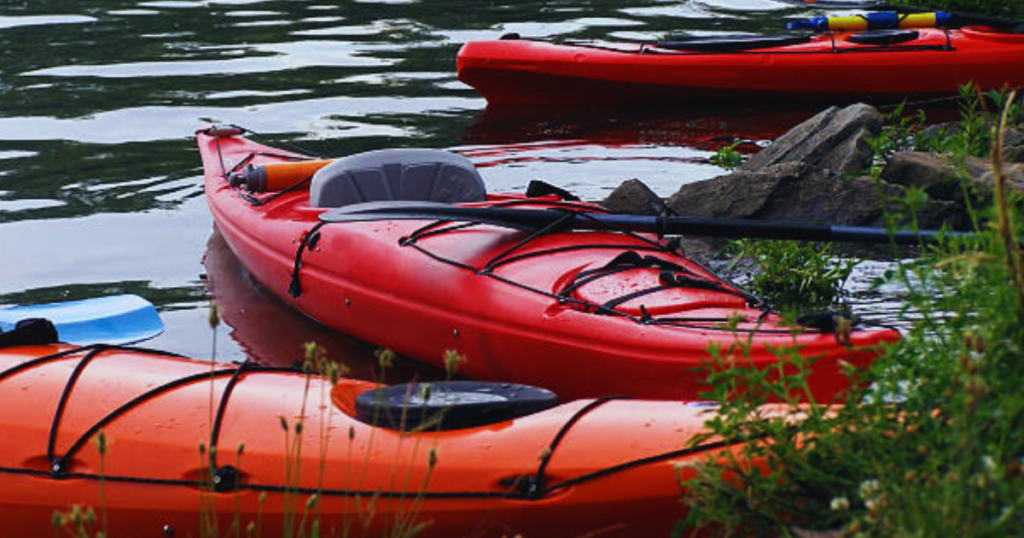
Let me tell you, I’ve seen it all when it comes to kayak stains. There was this one time I left my beloved red kayak out after a weekend trip, and friend, did I regret it. When I came back, it looked like Mother Nature had used it as her personal canvas.
First up, we’ve got those pesky algae and waterline stains. They’re like the uninvited guests at a party – they show up without warning and overstay their welcome. These greenish-brown lines make your kayak look like it’s got a bad case of the five o’clock shadow. I remember the first time I noticed them creeping up the sides of my kayak. I thought, No big deal, I’ll just wipe ’em off. Ha! If only it were that easy.
Then there are rust marks. I once made the rookie mistake of tossing my metal fishing gear into the kayak without thinking. The result? Orange spots that looked like my kayak had caught some weird kayak measles. It was like my poor red beauty had a bad case of kayak acne. Not exactly the look I was going for when I hit the water.
Oil and grease stains are another nightmare. Remember that time I thought I could snack on a greasy burger while paddling? Yeah, not my brightest moment. The drips left spots that had me googling how to remove burger stains from kayak at 2 AM. Let’s just say, it wasn’t my proudest paddling moment.
And let’s not forget about the joys of nature – bird droppings and tree sap. It’s like the birds and trees are in cahoots, I swear! One minute you’re admiring the scenery, the next your kayak looks like it’s been paintballed. I once parked my kayak under what I thought was a nice, shady tree. Turned out, it was a sap-dripping nightmare. My kayak ended up stickier than a toddler with a lollipop.
Last but not least, there’s sun fading and oxidation. This one’s sneaky because it happens gradually. You don’t notice it until one day you’re like, Hey, wasn’t this kayak RED? and now it’s more like a sad, washed-out pink. I learned this lesson the hard way after leaving my kayak uncovered in the backyard for a whole summer. By the time fall rolled around, my once-vibrant red kayak looked like it had spent a decade in the Sahara.
But don’t worry, I’ve learned a thing or two along the way, and I’m gonna share all my hard-earned wisdom with you. Stick around, and we’ll turn that stained kayak back into the head-turner it was meant to be.
Essential Cleaning Supplies for Stain Removal
After years of trial and error (emphasis on the error part), I’ve finally nailed down the ultimate cleaning kit for tackling those stubborn kayak stains.
First things first, let’s chat about cleaning solutions. Now, I used to think the stronger the chemicals, the better the clean. After nearly choking on fumes and watching fish swim away from me in terror, I’ve learned my lesson. Environmentally friendly cleaning solutions are the way to go, folks. Not only are they safer for you and the environment, but they’re also gentler on your kayak’s finish. I’m a big fan of biodegradable, marine-safe cleaners.
I remember the day I decided to use an old, rough kitchen sponge on my kayak. Let’s just say I ended up with a squeaky clean kayak… and about a million tiny scratches. Microfiber cloths are gentle yet effective, and soft-bristled brushes can get into those nooks and crannies without damaging the surface.
Now, let’s talk about protection – for you, not the kayak (although that’s important too). You’ll want some good gloves and eyewear. I learned this the hard way when I got cleaner in my eye once. Not fun, folks. Not fun at all. Safety first! And trust me, your hands will thank you after an hour of scrubbing. I once skipped the gloves and ended up with hands so dry they could’ve passed for sandpaper.
Don’t forget a trusty bucket and clean water. Seems obvious, right? Well, I once thought I could clean my entire kayak with just a spray bottle. Three hours and a very sore arm later, I realized the error of my ways. A bucket makes life so much easier. Plus, it’s great for mixing your cleaning solutions to just the right concentration.
Lastly, if you’re feeling fancy (or dealing with some seriously stubborn stains), a pressure washer can be a game-changer. But word of caution – start with the lowest setting! I once got a bit trigger-happy with the pressure washer and nearly blasted the decals right off my kayak. Oops! It’s like giving your kayak a power shower, but remember, gentle is the name of the game.
Remember, having the right tools is half the battle. With these supplies in your arsenal, you’ll be ready to tackle any stain that dares to mar your beautiful red kayak. Now, who’s ready to get cleaning? Let’s turn that dirty kayak into a gleaming red beauty that’ll make every other paddler green with envy.
Pre-Cleaning Steps: Preparing Your Red Kayak
Before we dive into the nitty-gritty of stain removal, we’ve got to set the stage. Think of it like prepping for a big date –you wouldn’t just roll out of bed and go, would you? (If you would, no judgment here, but your kayak deserves better).
First things first, give your kayak a good rinse. I’m talking head-to-toe, or should I say bow-to-stern, shower. Use a hose if you’ve got one, or if you’re out in the wild, a few buckets of clean water will do. This step is crucial because it helps remove any loose dirt or debris. I once skipped this step and ended up smearing dirt all over my kayak. Trust me, it’s not a good look. It was like trying to clean a muddy dog with a dry towel messy and counterproductive.
Next up, channel your inner detective and identify that stain. Is it a sneaky algae buildup? A stubborn rust mark? Or maybe it’s evidence of your last snack attack? Knowing what you’re dealing with will help you choose the right cleaning method. I’ve made the mistake of using the wrong cleaner on a stain before, and let’s just say it didn’t end well. The stain stayed put, and I ended up with a weird discoloured spot. Not exactly the look I was going for.
Lastly, set up your cleaning workspace. Find a shady spot if you can – direct sunlight can dry out cleaning solutions too quickly. Make sure you’ve got all your supplies within reach. There’s nothing worse than getting all sudsy and realizing you left the rinse bucket on the other side of the yard. Been there, done that, got the soggy t-shirt. Oh, and if you’re working on grass, consider laying down a tarp. It’ll catch any runoff and make cleanup a breeze. Plus, your lawn won’t end up with a weird clean patch in the middle of it.
Good prep work sets you up for success. So take the time to rinse, identify, test, and set up properly. Your kayak (and your future self) will thank you for it. Now, roll up those sleeves and let’s get ready to make that red kayak shine.
Step-by-Step Guide to Removing Algae and Waterline Stains
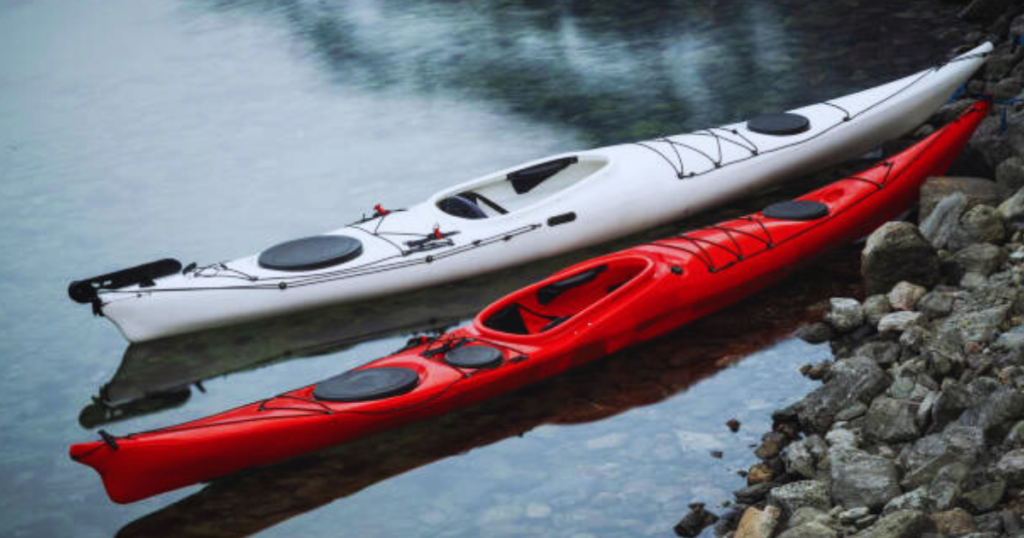
It’s time to tackle one of the most common enemies of a clean kayak algae and waterline stains. You know, those pesky green or brown lines that make your kayak look like it’s got a bad case of kayak acne? Yeah, those. But don’t worry, I’ve got a battle plan that’ll have your kayak looking fresh and clean in no time.
First up, let’s talk about the weapon of choice – a vinegar solution. Now, I know what you’re thinking. Vinegar? Isn’t that for salad dressing? This kitchen staple is about to become your best friend in the fight against algae. Mix equal parts white vinegar and water in your trusty bucket. The acidity in the vinegar is like kryptonite to algae.
I remember the first time I tried this. I was sceptical, to say the least. My kayak was so green, it looked like I’d been paddling through a swamp. But let me tell you, that vinegar mixture worked like magic.
Now, here’s where the elbow grease comes in. Grab your soft-bristled brush and start scrubbing. Work in small sections, and don’t be afraid to really get in there. I like to pretend I’m scrubbing away all the memories of that time I capsized in front of a group of very amused onlookers. (Not that that’s ever happened to me, of course. Ahem).
As you’re scrubbing, you might notice the algae starting to loosen up. That’s your cue to get excited! But don’t get too carried away – gentle, consistent pressure is key. I once got a bit too enthusiastic and ended up with a brush-shaped dent in my kayak.
After you’ve given it a good scrub, it’s time to rinse. Use clean water and really flush out all that loosened algae and vinegar solution. I like to use a clean sponge or cloth to wipe down as I rinse – it helps make sure you’re getting all the gunk off.
Now, here’s a crucial step that I learned the hard way – drying. Don’t just leave your kayak to air dry, especially if you’ve got more cleaning to do. Use a clean, dry microfiber cloth to dry the area you’ve just cleaned thoroughly. This prevents water spots and makes sure you can see if you’ve missed any spots.
Tackling Rust Stains on Your Red Kayak
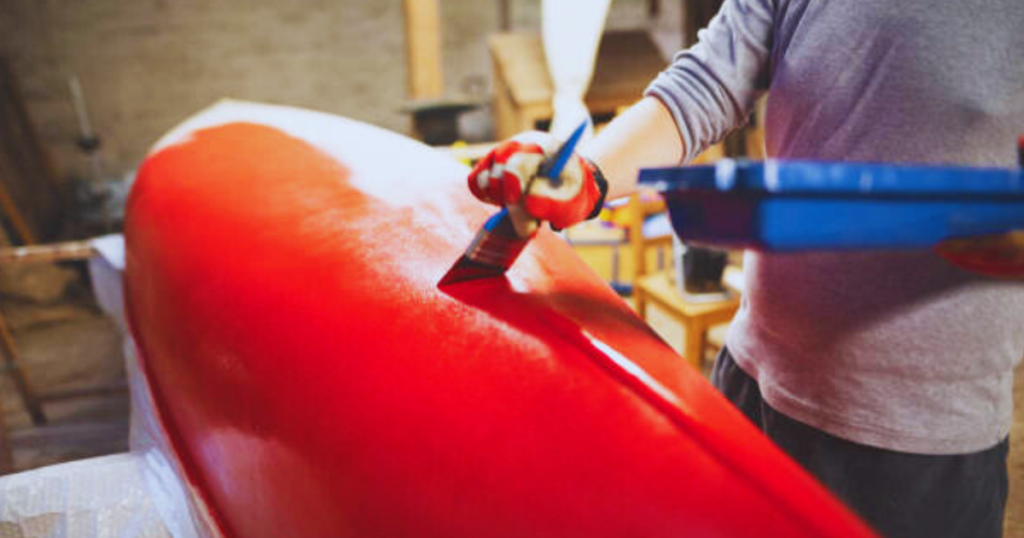
It’s time to wage war on one of the most stubborn enemies your red kayak will ever face – rust stains. You know, those orangey-brown spots that make your kayak look like it’s got some weird kayak version of chickenpox? Yeah, those pesky little devils. But fear not! I’ve got a battle plan that’ll have your kayak rust-free and ready to shine.
First things first, let’s talk about our secret weapon – lemon juice and salt. I know, it sounds more like a recipe for a margarita than a cleaning solution. But trust me, this dynamic duo is about to become your rust-busting best friend. Mix lemon juice with enough salt to make a paste. It should be about the consistency of toothpaste.
Apply this paste to the rust stains and let it sit for about 15-20 minutes. Think of it as giving your kayak a citrusy facial. I once left it on for an hour because I got distracted watching kayaking videos online. Pro tip: set a timer, unless you want your kayak smelling like a lemon grove for the next week.
After your kayak’s facial is done, it’s time for some gentle scrubbing. And I do mean gentle! Use a soft cloth or sponge and work in small, circular motions. Remember, we’re removing rust, not recreating the scratch scene from Jaws on your kayak’s surface. I learned this the hard way when I once got a bit too enthusiastic with a scrub brush. Let’s just say my kayak ended up with some interesting battle scars.
Now, if you’re dealing with some seriously stubborn rust stains (you know, the kind that seems to have taken up permanent residence on your kayak), you might need to bring in the big guns – a commercial rust remover. But here’s the catch: make sure it’s safe for use on your kayak’s material. I once used the wrong type and ended up with a spot that was rust-free… and also colour-free. Not exactly the look I was going for.
After you’ve shown those rust stains who’s boss, it’s crucial to neutralize the area. Rinse thoroughly with clean water, then wipe down with a solution of baking soda and water. This helps neutralize any remaining acid from the lemon juice or rust remover. Skip this step, and you might find yourself with new rust spots popping up faster than you can say paddle.
The key to keeping rust at bay is prevention. After each trip, make sure to dry your kayak thoroughly, especially around any metal fittings. And if you notice any scratches or chips in the paint, touch them up as soon as possible. Think of it as giving your kayak a little TLC – Tender Loving Cleaning.
Now, armed with these rust-busting techniques, you’re ready to keep your red kayak looking as fresh as the day you bought it. Who knows? With a kayak this clean, you might even be mistaken for a pro out there on the water. Just don’t let it go to your head – remember, a clean kayak doesn’t necessarily mean you won’t still end up taking an unexpected swim now and then. Not that I’m speaking from experience or anything.
Eliminating Oil and Grease Stains
It’s time to tackle the slippery culprit that’s been messing with your kayak’s mojo – oil and grease stains. You know, those stubborn spots that make your kayak look like it’s been moonlighting as a fry cook? Yeah, those. But don’t worry, I’ve got some tricks up my sleeve that’ll have your kayak looking slick (in a good way) in no time.
First up, let’s talk about the power of dish soap. Yep, that’s right – the same stuff you use to clean your greasy pans can work wonders on your kayak. I learned this little gem of wisdom after a particularly messy fishing trip. Let’s just say I should’ve been more careful with my fish fillet knife and the sandwich I was eating.
Here’s what you do: Squirt a generous amount of dish soap directly onto the stain. Now, don’t be shy – we’re not doing dishes here, we’re battling kayak grime! Let it sit for about 5-10 minutes. This gives the soap time to break down the oil. I like to imagine it’s having a microscopic boxing match with the grease molecules.
Next, grab a soft cloth or sponge and start scrubbing in circular motions. The key here is to be thorough but gentle. We’re not trying to scrub the colour off your kayak, just the grease! I once got a bit too enthusiastic and ended up with a spot on my kayak that was cleaner than the rest. Let’s just say it looked like my kayak had a weird bald spot.
If the dish soap method isn’t quite cutting it (pun intended), it’s time to break out the big guns – baking soda! Mix baking soda with a little water to make a paste. Apply this to the stain and let it sit for about 15 minutes. The baking soda acts like a magnet for the grease, pulling it out of the kayak’s surface. It’s like a spa treatment for your boat.
Now, if you’re dealing with a real monster of a grease stain (like the time I accidentally spilt an entire can of sardine oil on my kayak – don’t ask), you might need to call in the cavalry. By cavalry, I mean specialized marine degreasers. These are designed to be tough on grease but gentle on your kayak’s finish. Just be sure to follow the instructions carefully. I once ignored the dilute before use warning and ended up with a spot so clean, I could see my reflection in it. Not ideal when you’re trying to sneak up on fish.
After you’ve conquered the grease, it’s crucial to rinse thoroughly. And I mean thoroughly! Any leftover cleaning product can attract more dirt. I like to use a spray bottle filled with clean water for this step. It gives you better control and helps you get into all those nooks and crannies.
When it comes to cleaning products, always dispose of them properly. Mother Nature’s been good to us kayakers, so let’s return the favour. No dumping cleaning solutions in the water, okay? I once made that mistake and spent the rest of my trip apologizing to every fish I saw.
With these techniques in your arsenal, you’ll be ready to take on any greasy situation that comes your way. Just remember, a clean kayak is a happy kayak. And a happy kayak means more time on the water and less time scrubbing in your driveway. Now go forth and conquer those grease stains! Your kayak (and your pride) will thank you.
Removing Organic Stains: Bird Droppings and Tree Sap
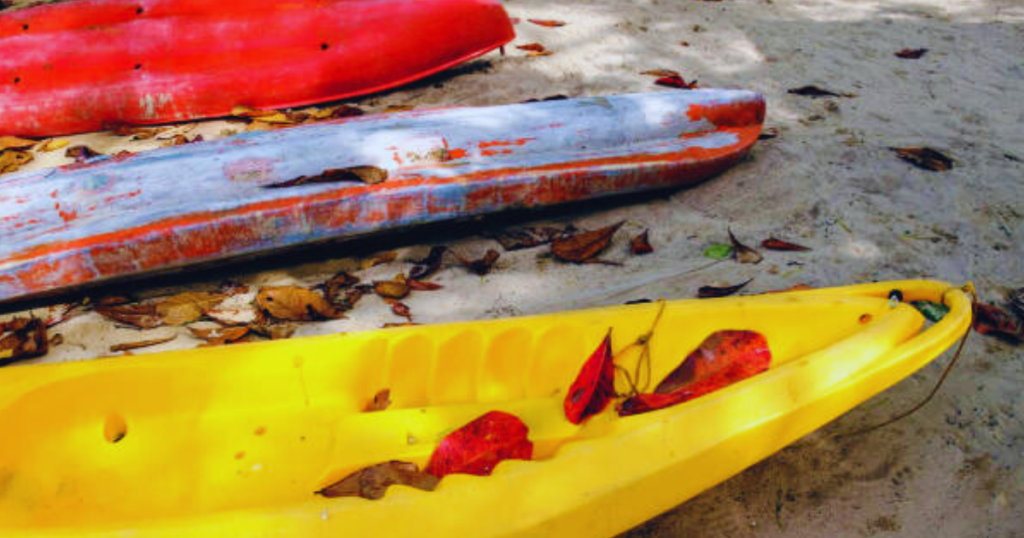
The sun on your face, the wind in your hair, and… bird droppings on your kayak? Yep, we’ve all been there. And let’s not forget about that sticky surprise left by overhanging trees – tree sap. These organic stains might be natural, but they’re naturally annoying too. But don’t worry, I’ve got some tricks up my sleeve to help you tackle these messy situations.
First things first, let’s talk about immediate action. The golden rule with organic stains is: that the sooner, the better. I learned this the hard way after leaving some bird artwork on my kayak for a week. Let’s just say it took more elbow grease to remove than I care to admit. So, if you spot a fresh deposit, act fast.
For bird droppings, your first line of defence is good old H2O. A quick splash of water can often do the trick if the stain is fresh. But let’s be real, we’re not always around when our kayaks become avian targets. For those set-in stains, we need to bring out the big guns – enzyme-based cleaners.
Enzyme cleaners are like nature’s little helpers. They break down organic matter, making it easier to remove. I remember the first time I used one, I felt like a mad scientist. Enzymes, attack! I may have shouted. My neighbours gave me some odd looks, but hey, my kayak was clean.
Now, for tree sap, we’ve got a different battle plan. This stuff can be stickier than that time I accidentally sat on a melted chocolate bar (don’t ask). Your secret weapon here? Isopropyl alcohol. Yep, the same stuff you use to clean cuts and scrapes can work wonders on sap.
Soak a cloth in isopropyl alcohol and place it over the sap stain. Let it sit for about 15 minutes. The alcohol will help dissolve the sap, making it easier to remove. Just be careful not to let it sit too long on painted surfaces – we want to remove the sap, not the paint.
After the soak, gently scrape off the loosened sap with a plastic scraper or old credit card. I once tried to use a metal scraper and… well, let’s just say my kayak ended up with some interesting racing stripes. Lesson learned: plastic is your friend here.
For both types of stains, a gentle scrubbing technique is key. Use soft, circular motions. Think of it like you’re waxing your car, not sanding down a tree stump. I’ve seen people go at their kayaks like they’re trying to scrub the pattern off, and trust me, that never ends well.
Once you’ve removed the stain, don’t forget to rinse thoroughly. Any leftover cleaning product can attract more dirt, and we don’t want to undo all our hard work, do we? I like to finish up with a quick wipe-down using a clean, damp microfiber cloth. It gives your kayak that extra sparkle like it’s winking at you and saying, Thanks for the spa day.
When it comes to organic stains, prevention is key. If possible, store your kayak under cover or use a kayak cover when it’s not in use. And maybe avoid parking directly under that tree full of birds, no matter how tempting the shade looks. Your future self (and your clean kayak) will thank you.
With these tips in your paddling toolkit, you’ll be ready to take on whatever nature throws at your kayak – or drops on it. Happy paddling, and may your kayak stay cleaner than a whistle… or at least cleaner than mine usually is.
Addressing Sun Fading and Oxidation
Sun-loving paddlers, let’s talk about a sneaky little problem that creeps up on us kayakers – sun fading and oxidation. You know, that moment when you look at your once vibrant red kayak and think, When did it turn into a sad, washed-out pink? Yeah, that moment. But don’t worry, I’ve got some tricks up my sleeve to bring back that showroom shine.
First things first, let’s chat about what we’re dealing with here. Sun fading and oxidation are like the sneaky thieves of kayak beauty. They work slowly, but boy, do they make an impact. I remember the day I realized my kayak had fallen victim. I was getting ready for a big group paddle, and as I pulled off the cover, I thought, Huh, I don’t remember ordering a pastel kayak.
So, how do we fight back against these color-stealing culprits? It starts with a good cleaning. And I mean good. We’re talking spa day for your kayak level of cleaning. Use a mild soap and water solution to remove any dirt or grime. This is important because we need a clean surface to work with. Trust me, trying to restore a dirty kayak is like trying to paint a masterpiece on a muddy canvas – it just doesn’t work.
Once your kayak is squeaky clean, it’s time to break out the big guns – marine polish or rubbing compound. Now, a word of caution: start with the least abrasive option first. We’re trying to restore colour, not remove it entirely! I learned this the hard way when I went straight for the heavy-duty stuff and ended up with a spot so shiny, I could use it as a mirror. Not exactly the look I was going for.
Apply the polish or compound in small sections, working it in with a soft cloth using circular motions. This is where the elbow grease comes in, folks. Imagine you’re Mr. Miyagi from Karate Kid – Wax on, wax off. Your kayak might not learn karate, but it’ll sure look good.
Now, here’s where the magic happens – buffing. You can do this by hand, but if you want to save your arms (and possibly your sanity), an electric buffer is your best friend. Just be careful not to press too hard. We’re going for a gentle massage, not a deep tissue workout. I once got a bit too enthusiastic with the buffer and ended up with a small bald spot on my kayak. Let’s just say I spent the rest of the season with a strategically placed sticker.
After you’ve buffed your heart out, it’s time for the finishing touch – UV-protective wax. This is like sunscreen for your kayak. It’ll help protect against future fading and oxidation. Apply a thin, even coat and buff it to a shine. Your kayak will be so shiny, you might need sunglasses just to look at it.
But wait, there’s more! Prevention is key when it comes to sun damage. Consider storing your kayak out of direct sunlight when it’s not in use. I know, I know, it’s tempting to show off your beautiful boat in the yard, but trust me, your future self will thank you. I learned this lesson after using my kayak as lawn art for a summer. By fall, it looked more like a sun-bleached lawn ornament than a water-ready vessel.
Preventative Measures: Keeping Your Red Kayak Stain-Free
Fellow paddling enthusiasts, we’ve covered how to tackle just about every stain known to kayak-kind. But you know what they say – an ounce of prevention is worth a pound of cure. Or in our case, a little bit of regular maintenance is worth a whole lot of elbow grease. So let’s talk about how to keep that beautiful red kayak of yours stain-free and shining like a freshly polished apple.
Here’s what I recommend: give your kayak a quick rinse and wipe down after every use. Yeah, every single use. Even if you’re tired. Even if it’s cold. Even if you just want to go home and binge-watch kayaking videos on YouTube (no judgment here). It only takes a few minutes, but it can save you hours of scrubbing later on.
Next up, let’s talk storage. Where you keep your kayak when it’s not being used is crucial. Ideally, you want a cool, dry place out of direct sunlight. I once stored my kayak in what I thought was a perfect spot in my backyard. Turns out, it was perfect – for growing a unique variety of multicoloured mould. Not exactly the look I was going for.
If outdoor storage is your only option, invest in a good-quality kayak cover. And I mean good quality. Not the bargain bin special that’s thinner than tissue paper. A proper cover will protect your kayak from sun damage, bird droppings, tree sap, and whatever else Mother Nature decides to throw at it. Think of it as a superhero cape for your kayak.
Now, let’s chat about the magic of protective coatings. Applying a UV-resistant marine wax or sealant to your kayak is like giving it a force field against stains and fading. I try to do this at least once a season. It’s like taking your kayak to the spa – it comes out looking refreshed and ready to take on the world (or at least the local lake).
Conclusion
We’ve paddled through the murky waters of stain removal and come out on the other side with a gleaming vessel! Remember, keeping your kayak clean isn’t just about looking good (though let’s be honest, that’s a big part of it). It’s about preserving your kayak’s performance and longevity.
Regular maintenance and prompt stain removal are key to ensuring your red beauty stays vibrant for years to come. Don’t let stains cramp your paddling style – with the techniques we’ve covered, you’re now armed and ready to tackle anything Mother Nature (or that clumsy friend of yours) throws at your kayak. So get out there, show off your newly restored red kayak, and make some waves.
Frequently Asked Questions
How often should I clean my red kayak?
Ideally, you should give your kayak a quick rinse after each use and a thorough cleaning at least once a month during the paddling season. If you’re using it in saltwater, rinse it after every trip to prevent salt buildup.
Can I use household cleaners on my kayak?
It’s best to avoid most household cleaners as they can be too harsh for your kayak’s finish. Stick to mild, biodegradable soaps or cleaners specifically designed for boats and kayaks.
How do I remove tree sap from my kayak?
For tree sap, try using a mixture of warm water and dish soap. If that doesn’t work, you can use isopropyl alcohol, but be sure to test it on a small, inconspicuous area first.
Will cleaning my kayak remove the UV protection?
Regular cleaning with mild cleaners shouldn’t affect UV protection. However, harsh chemicals or abrasive scrubbing can wear it down over time. Consider applying a UV protectant spray after cleaning to maintain protection.
How can I prevent the sun from fading on my red kayak?
Store your kayak out of direct sunlight when not in use. You can also apply a UV protectant spray or wax designed for boats and kayaks to help maintain the colour.
What’s the best way to clean the inside of my kayak?
Use a mild soap and water solution, scrubbing gently with a soft brush. Rinse thoroughly and make sure to drain all the water. Leave the kayak open to air dry completely to prevent mould and mildew.
Can I use a pressure washer on my kayak?
While a pressure washer can be effective, use it with caution. Keep the pressure low and maintain a good distance to avoid damaging the kayak’s surface or forcing water into areas where it shouldn’t go.
How do I remove the fish smell from my kayak?
Mix a solution of one part white vinegar to three parts water. Wipe down the affected areas, then rinse thoroughly. You can also try using an enzymatic cleaner designed for removing organic odours.
Is it safe to use bleach on my red kayak?
It’s generally not recommended to use bleach on a kayak, especially a coloured one. Bleach can damage the material and fade the colour. Stick to kayak-specific or mild, biodegradable cleaners.
How can I touch up scratches on my red kayak?
For minor scratches, you can use a marine-grade gelcoat repair kit that matches your kayak’s colour. For deeper scratches, you might need to sand the area lightly before applying the gel coat. Always follow the manufacturer’s instructions.

Nigel Foster, born in 1952, is an esteemed sea kayaker, known for being the youngest to kayak around Iceland. His journey in kayaking started at 15 in Brighton, England. With a career beginning as a trainee instructor in Sussex, he later pursued teaching after attending Redland College, Bristol.
Foster’s notable expeditions include navigating the challenging waters of Newfoundland and the Hudson Strait. Despite facing intense conditions, his passion for kayaking never waned. He holds several British Canoe Union qualifications and has significantly contributed to the kayaking community through teaching and committee work.
In 1985, Foster expanded his horizons by assisting an expedition in Iceland and later founded his own kayaking business, sharing his expertise globally.
