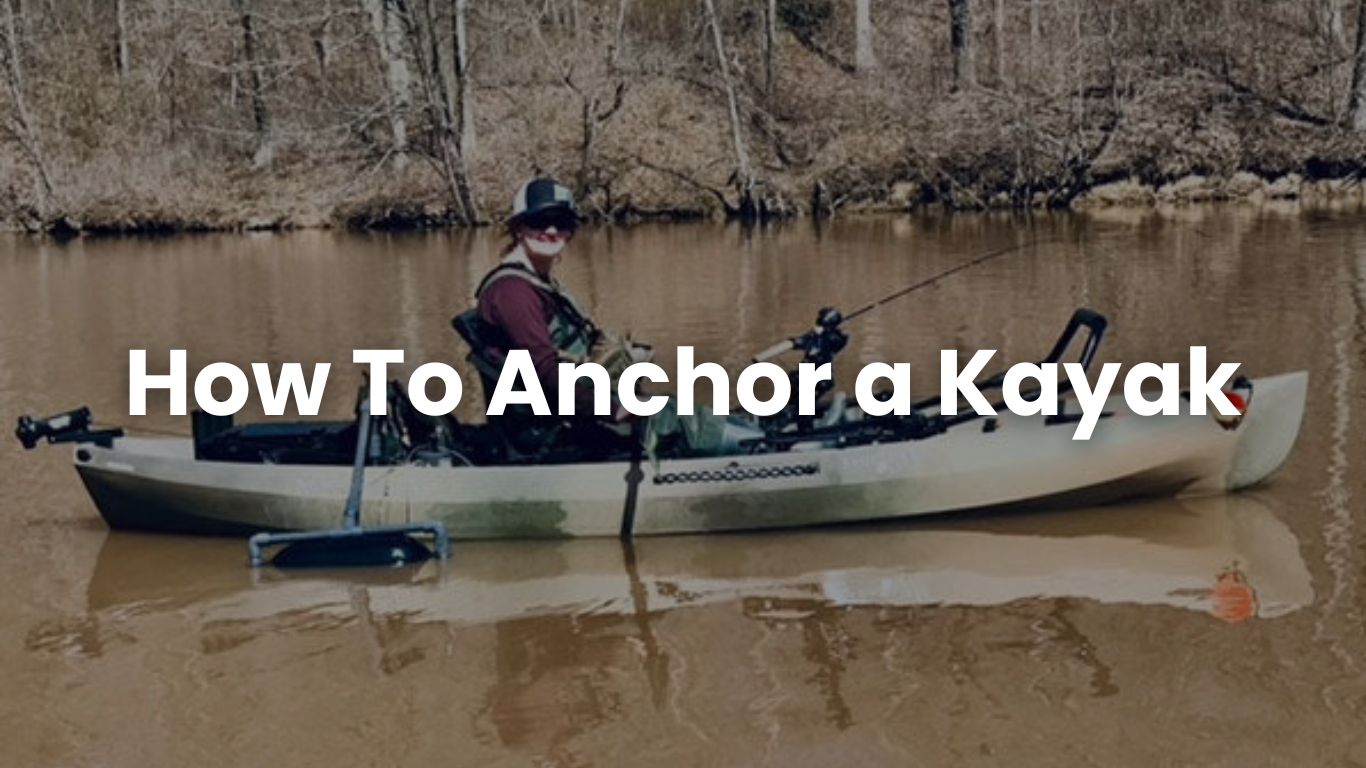
Are you a kayaker who loves fishing, sightseeing, or relaxing on the water? If so, you may have wondered how to anchor a kayak and why it is important. Anchoring a kayak is a useful skill that can help you stay in one spot, avoid drifting, and focus on your activity. It can also enhance your safety and comfort on the water, especially in windy or choppy conditions.
However, anchoring a kayak is not as simple as throwing a weight overboard and hoping for the best. You need to know the different types of anchors and how they work for different situations and environments. You also need to know how to anchor a kayak safely and effectively, without risking capsizing or entanglement.
In this article, we will show you how to anchor a kayak using various methods and devices. We will also give you some tips and tricks on how to make anchoring a kayak easier and more efficient. By the end of this article, you will have a better understanding of kayak anchoring and how to do it right.
Types of Anchors for kayak

There are many types of anchors available for kayaks, each with its own advantages and disadvantages. The type of anchor you choose depends on several factors, such as the weight, size, ease of use, suitability for different water conditions and bottom types, and cost. Here are some of the most common types of anchors for kayaks:
Folding grapnel anchor: This is a four-pronged anchor that folds up when not in use, making it easy to store and transport. It is suitable for most water conditions and bottom types, as it can grip rocks, sand, mud, or weeds. However, it can also get snagged or tangled easily, and it is relatively heavy for a kayak. A typical folding grapnel anchor weighs between 1.5 and 3.5 pounds, and costs around $20 to $40. Some popular brands and models of folding grapnel anchor are BEST Marine and Outdoors Kayak Anchor, Extreme Max BoatTector Folding/Grapnel Anchor, and Seattle Sports Kayak Fishing Anchor Kit.
Stake out pole: This is a long, thin pole that can be driven into the bottom of shallow water, such as a lake, river, or marsh. It is ideal for kayak fishing, as it allows you to stay in one spot without making any noise or movement. It is also very lightweight and easy to use, as you just need to push it into the ground and attach it to your kayak. However, it is only effective in water that is less than 8 feet deep, and it can be difficult to remove if the bottom is too hard or soft. A typical stake out pole weighs between 1 and 2 pounds, and costs around $30 to $80. Some popular brands and models of stake out pole are YakGear Stake Out Pole, YakAttack ParkNPole, and Backwater Assassin Carbon Fiber Hybrid Stake Out Pole.
Drag chain: This is a length of chain that can be dragged behind the kayak to create resistance and slow down the drift. It is useful for kayak fishing in windy or current conditions, as it allows you to control your speed and direction. It is also very simple and cheap to make, as you just need a chain, a rope, and a carabiner. However, it can also create noise and disturb the fish, and it can get caught on rocks or debris. A typical drag chain weighs between 2 and 4 pounds, and costs around $10 to $20. You can make your own drag chain by following this guide, or buy one from Kayak Fishing Supplies.
Drift chute/anchor: This is a cone-shaped device that can be deployed in the water to create drag and reduce the drift. It is similar to a drag chain, but it is more effective and less noisy. It is also suitable for deeper water, as it can be adjusted to different depths. It is ideal for kayak fishing in windy or current conditions, as it allows you to cover more area and target different fish. However, it can also be cumbersome and difficult to retrieve, and it can interfere with your paddling or steering. A typical drift chute/anchor weighs between 0.5 and 1.5 pounds, and costs around $15 to $40. Some popular brands and models of drift chute/anchor are YakGear Drift Anchor, Scotty Sea-Light Kayak Drift Anchor, and Sea Eagle Drift Anchor.
Powered anchoring system: This is a device that uses a motor and a spike to anchor the kayak to the bottom of the water. It is the most advanced and convenient type of anchor for kayaks, as it allows you to anchor and unanchor with the push of a button. It is also very effective and stable, as it can hold the kayak in place even in rough water. However, it is also very expensive, heavy, and complex, and it requires a battery and a mounting system. A typical powered anchoring system weighs between 10 and 15 pounds, and costs around $600 to $800. Some popular brands and models of powered anchoring system are Power-Pole Micro Anchor, Minn Kota Talon Shallow Water Anchor, and Rhodan HD GPS Anchor+ Trolling Motor.
How to Attach an Anchor
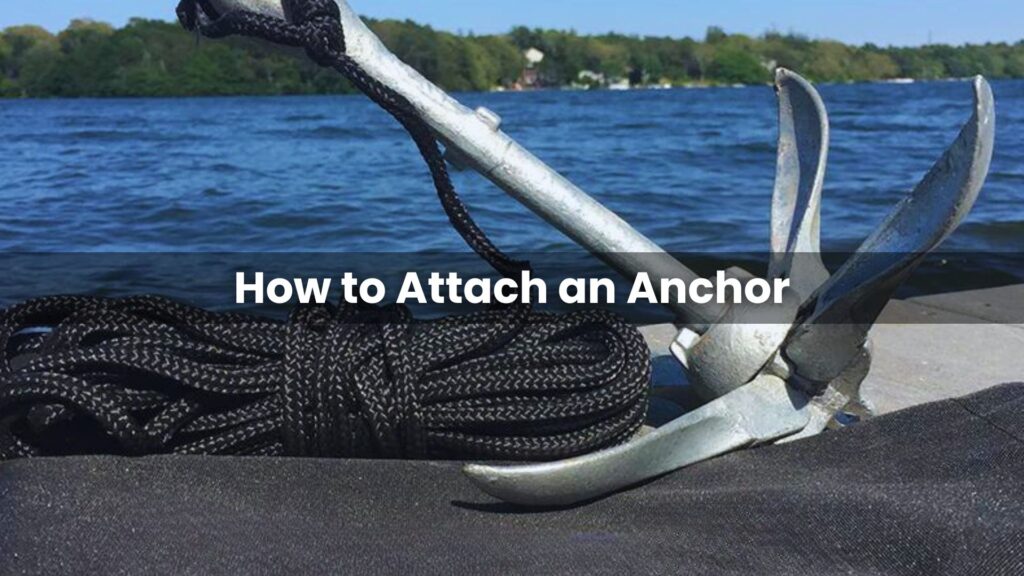
Before you use an anchor, you need to know how to attach it to your kayak. This is important for your safety and stability, as attaching the anchor to the wrong place can cause your kayak to capsize or become unstable. The best way to attach an anchor to a kayak is to use an anchor trolley, a device that allows you to adjust the position of the anchor from the cockpit. Here is how to attach an anchor using an anchor trolley:
First, you need to install an anchor trolley on your kayak. An anchor trolley is a system of ropes, pulleys, and rings that runs along the side of your kayak, from the bow to the stern. You can buy a ready-made anchor trolley kit from YakGear, YakAttack, or Scotty, or make your own by following this guide.
Next, you need to tie or clip the anchor line to the kayak handle, boat cleat, or anchor trolley. The anchor line is the rope that connects the anchor to the kayak. You can use a simple knot, such as a bowline or a figure-eight, or a carabiner, a metal clip that can be easily opened and closed. Make sure the anchor line is long enough to reach the bottom of the water, and secure the excess line with a cleat or a jam cleat, a device that holds the line in place without tying a knot.
Finally, you need to attach a float to the line, and why it is useful for retrieving the anchor or marking your spot. A float is a buoyant object that floats on the water, such as a ball, a bottle, or a foam block. You can attach it to the end of the line, or somewhere along the line, using a knot or a carabiner. A float is useful for retrieving the anchor, as you can pull the line from the float instead of the kayak, which can prevent tangling or snagging. A float is also useful for marking your spot, as you can leave the float on the water while you paddle away, and come back to the same spot later.
How to Use an Anchor
Once you have attached an anchor to your kayak, you need to know how to use it properly. This involves choosing a suitable spot for anchoring, dropping the anchor into the water, tying off the anchor line, and pulling up the anchor when you are done. Here is how to use an anchor for your kayak:
First, you need to choose a suitable spot for anchoring. This depends on the depth, current, wind, and bottom type of the water. You want to find a spot that is deep enough for your anchor to reach the bottom, but not too deep that you run out of line. You also want to find a spot that has a moderate current and wind, but not too strong that you drift away or get pulled by the anchor. You also want to find a spot that has a soft or sandy bottom, but not too muddy or weedy that your anchor gets stuck or buried. A good way to find a suitable spot is to use a fish finder, a map, or a landmark, such as a buoy, a rock, or a tree.
Next, you need to drop the anchor into the water. This is done by holding the anchor by the line, and gently tossing it over the side of the kayak, either from the bow or the stern, depending on the direction of the current and wind. You want to avoid throwing the anchor too far or too hard, as this can cause the anchor to bounce or drag on the bottom, which can reduce its holding power. You also want to avoid dropping the anchor too close or too softly, as this can cause the anchor to land on the kayak or not reach the bottom at all. A good way to drop the anchor is to use a smooth and steady motion, and aim for a spot that is slightly ahead of your kayak.
Then, you need to let out enough line for the anchor to set and hold. This is done by releasing the line from the cleat or the jam cleat, and letting it run through your hands or a glove, until you feel the anchor hit the bottom. You want to let out enough line to create a proper scope, which is the ratio of the length of the line to the depth of the water.
A general rule is to use twice the depth of the water as the length of the line, or a 2:1 scope. For example, if the water is 10 feet deep, you want to let out 20 feet of line. This allows the anchor to dig into the bottom and create a strong hold. You also want to adjust the scope according to the water conditions, such as the current, wind, and waves.
A stronger current or wind requires a longer scope, such as 3:1 or 4:1, while a weaker current or wind requires a shorter scope, such as 1.5:1 or 1:1. A good way to measure the scope is to use a marked line, or a counting method, such as one second per foot of line.
Finally, you need to tie off the anchor line, and adjust the tension and position of the line using the anchor trolley or the cleat. This is done by pulling the line until it is tight, but not too tight that it lifts the anchor off the bottom, or too loose that it allows the kayak to drift. You also want to move the line to the desired position, either the bow or the stern, using the anchor trolley or the cleat. This allows you to face the direction of the current or wind, and avoid spinning or swinging. A good way to tie off the anchor line is to use a cleat hitch, a simple and secure knot that can be easily released.
Safety Considerations When Anchoring a Kayak
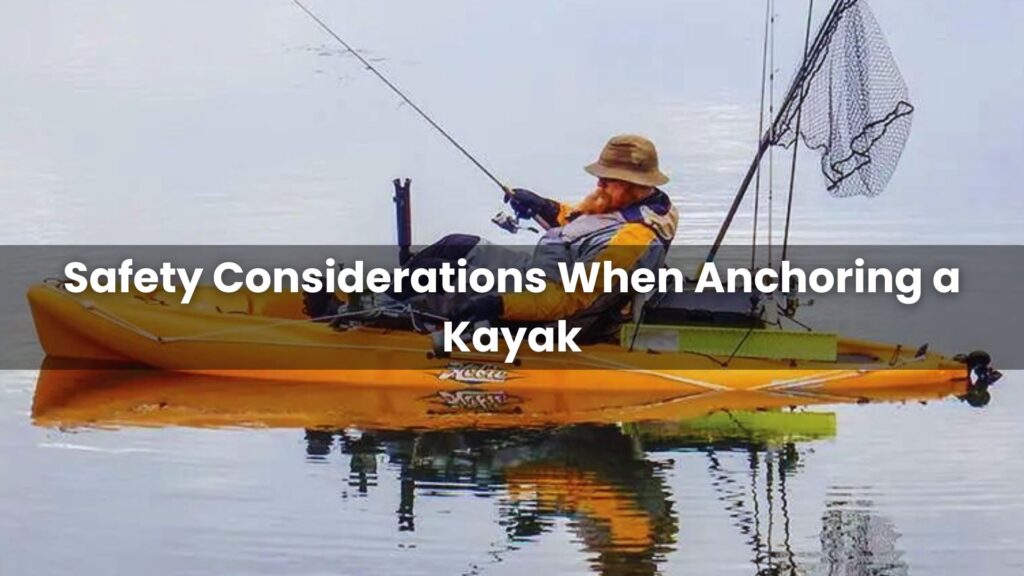
While anchoring your kayak can enhance your overall experience, it’s essential to prioritize safety. Here are some important safety considerations to keep in mind:
1. Weather Conditions: Always check the weather forecast before heading out on your kayaking trip. Strong winds, storms, or extreme weather conditions can make anchoring unsafe. If the weather deteriorates, it’s best to avoid anchoring and seek shelter.
2. Anchor Trolley or Cleat Inspection: Regularly inspect your anchor trolley or cleat system for any signs of wear or damage. Ensure the attachment points are secure and the lines are in good condition. Replace any worn-out components to maintain the integrity of the system.
3. Visibility and Signaling: Make yourself visible to other watercraft by wearing brightly colored clothing and using reflective gear. Carry a whistle or other signaling devices to alert nearby boats or kayakers in case of an emergency.
4. Practice Emergency Procedures: Familiarize yourself with emergency procedures, such as how to release the anchor quickly in case of an emergency or how to cut the anchor line if necessary. Being prepared for unexpected situations can make a significant difference in your safety.
5. Life Jacket and Safety Equipment: Always wear a properly fitted life jacket while kayaking. Additionally, carry essential safety equipment such as a paddle float, bilge pump, and a first aid kit. These items can be invaluable in emergency situations.
Tips and Tricks for Successful Anchoring
To further enhance your anchoring skills, here are some expert tips and tricks to keep in mind:
1. Use a Kayak Anchor Trolley System: A kayak anchor trolley system allows you to adjust the position of your anchor easily. This system provides flexibility and enables you to respond to changing wind or current conditions without repositioning your anchor.
2. Use a Buoy or Float: Attaching a buoy or float to your anchor line can make it easier to spot and retrieve your anchor. A brightly colored buoy also serves as a visual indicator, helping you avoid collisions with your anchor line.
3. Consider Anchor Chute or Bag: An anchor chute or bag can streamline the process of deploying and retrieving your anchor. These accessories guide the anchor line and prevent it from tangling or interfering with your paddling.
4. Learn from Local Experts: If you’re kayaking in unfamiliar waters, seek advice from local experts or experienced kayakers. They can provide valuable insights into the specific challenges and best practices for anchoring in those areas.
5. Practice Anchoring in Different Conditions: Regularly practice anchoring in various water conditions to enhance your skills. Experiment with different anchoring techniques and familiarize yourself with the strengths and limitations of your anchor.
Common Mistakes to Avoid When Anchoring a Kayak
To ensure a smooth anchoring experience, it’s essential to avoid common mistakes that can lead to frustration or potential hazards. Here are some mistakes to watch out for:
1. Choosing the Wrong Anchor: Selecting an anchor that is too small or unsuitable for your kayak and water conditions can compromise your safety and stability. Take the time to research and choose an anchor that matches your needs.
2. Insufficient Anchor Line: Using an anchor line that is too short may result in your kayak drifting away from the desired location. Ensure your anchor line is long enough to reach the bottom and provide adequate slack for a secure hold.
3. Dropping Anchor Incorrectly: Dropping the anchor too quickly or with excessive force can startle nearby fish or wildlife, disturbing their habitats. Gently lower the anchor into the water to minimize disturbances and respect the environment.
4. Neglecting Anchor Maintenance: Regularly inspect and maintain your anchor to ensure it is in good working condition. Clean any mud or debris from the anchor after each use and lubricate moving parts if necessary.
5. Anchoring in Unsuitable Locations: Avoid dropping your anchor near sensitive ecosystems, underwater structures, or areas with heavy boat traffic. Respect the environment and choose anchor locations that minimize disturbances and potential hazards.
Why is It Important to Properly Anchor Your Kayak?
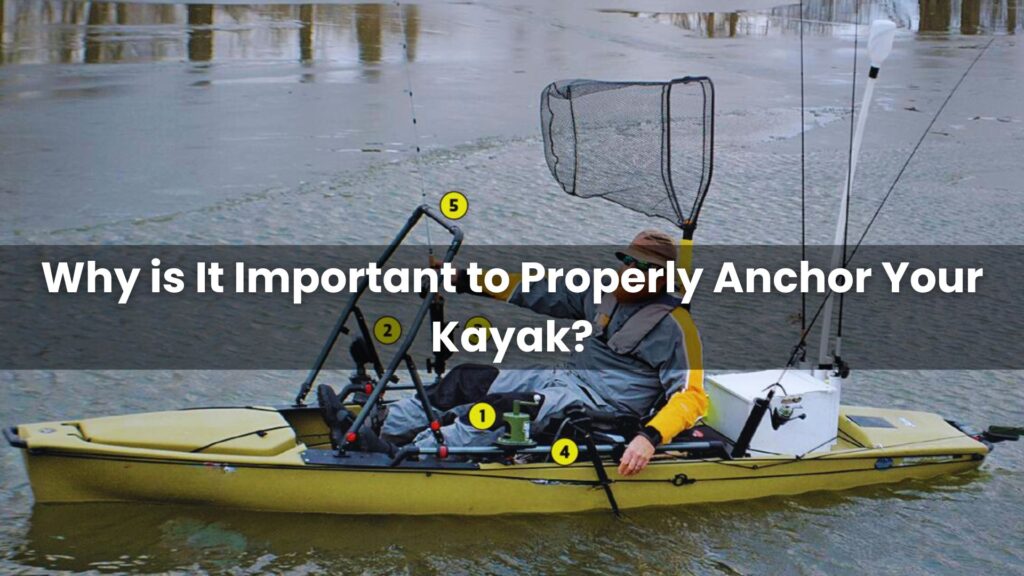
Kayaking is a popular recreational activity that allows individuals to explore stunning waterways and enjoy the serenity of nature. Whether you’re fishing, taking a break, or simply soaking in the picturesque scenery, it’s essential to know how to properly anchor your kayak for stability and safety. In this section, we’ll delve into the reasons why anchoring your kayak is crucial.
One of the primary reasons to anchor your kayak is to prevent it from drifting away. Kayaks are lightweight and can easily get carried away by currents or winds, especially in open water or rivers. By anchoring your kayak, you can stay in one spot, ensuring that you don’t end up far from your intended location.
Anchoring also allows you to maintain stability while engaging in activities like fishing. When you’re casting your line or reeling in a catch, having a secure anchor helps keep your kayak steady, providing a stable platform for better control and increased chances of success. Additionally, anchoring can be beneficial when you want to take a break from paddling and relax without constantly drifting away.
To summarize, properly anchoring your kayak not only prevents it from drifting away but also offers stability and safety during various activities on the water. Now that we understand the importance of kayak anchoring, let’s move on to addressing some common questions regarding this topic.
Common FAQs About Kayak Anchoring
As a beginner or even an experienced kayaker, you may have several questions about how to properly anchor your kayak. In this section, we’ll answer some frequently asked questions to help you gain a better understanding of this essential skill.
How do I Choose the Right Anchor for my Kayak?
The size of the anchor is determined by the weight it needs to hold. For most kayaks, an anchor of 1.5kg is sufficient.
What Type of Rope is Best for a Kayak Anchor?
A rope with a diameter of 5mm (or 3/16in) is commonly used for kayak anchors. Polyester ropes are also a good option as they are water-resistant and dry quickly.
What are the Different Types of Anchors Available?
There are several types of anchors available for kayaks, each with its own pros and cons. Let’s take a closer look at some common anchor types:
1. Grapnel Anchor: This anchor features multiple prongs that grip the bottom surface, providing excellent holding power. Grapnel anchors are versatile and suitable for various bottom types, including rocks, weeds, and coral. They are also relatively compact and easy to store.
2. Mushroom Anchor: Mushroom anchors, as the name suggests, resemble a mushroom in shape. They work well in sandy or muddy bottoms, where their wide shape helps create resistance and secure holding. Mushroom anchors are lightweight and easy to handle, making them a popular choice for kayakers.
3. Claw Anchor: Claw anchors, also known as Bruce anchors, are highly reliable and offer excellent holding power. They have sharp, curved flukes that dig into the bottom, providing strong grip even in challenging conditions. Claw anchors are commonly used in larger boats but can be suitable for kayaks, especially if you frequently encounter strong currents or winds.
4. Folding Anchor: Folding anchors are compact and easy to store, making them popular among kayakers. They typically consist of multiple flukes that fold inwards for storage and unfold when deployed. Folding anchors are lightweight and great for recreational kayaking in calm waters.
How do I Release From Anchor?
To release from anchor, you can simply release the quick release mechanism, which allows the anchor line to slide around the anchor and the kayak to drift away with the tide.
What Accessories Do You Need for Kayak Anchoring?
While the anchor itself is the main component, there are a few essential accessories that can enhance your kayak anchoring experience. These accessories include:
1. Anchor Trolley System: An anchor trolley system allows you to position your anchor line at various points along the kayak, giving you more control over the direction your kayak faces while anchored. This system is especially useful when dealing with changing wind or current directions.
2. Anchor Float: An anchor float is attached to the anchor line and provides buoyancy, ensuring that the line stays on the water’s surface and doesn’t get tangled in the kayak or vegetation. This accessory prevents the anchor line from interfering with your paddling or fishing activities.
3. Shock Cord: A shock cord, also known as a bungee cord, can be used to secure the anchor in place on your kayak. This prevents the anchor from shifting or bouncing around while you’re on the water, ensuring a stable and secure setup.
4. Storage Bag: A dedicated storage bag for your anchor and accessories keeps everything organized and protected, preventing any damage to your kayak or other gear. It also makes it easier to transport your anchor when moving between different kayaking locations.
What are Some Common Mistakes to Avoid When Anchoring a Kayak?
Some common mistakes include not using the correct anchor for the water conditions, not securing the anchor line properly, and not considering the tide and wind when anchoring.
Conclusion
Anchoring a kayak is a useful skill that can enhance your fishing, camping, or sightseeing experience on the water. However, it is not as simple as just throwing an anchor overboard and hoping for the best. You need to consider the type, size, and weight of your anchor, the depth and current of the water, the weather conditions, and the safety precautions. By following the steps and tips outlined in this article, you can learn how to anchor a kayak properly and securely and enjoy your time on the water without drifting away.

Nigel Foster, born in 1952, is an esteemed sea kayaker, known for being the youngest to kayak around Iceland. His journey in kayaking started at 15 in Brighton, England. With a career beginning as a trainee instructor in Sussex, he later pursued teaching after attending Redland College, Bristol.
Foster’s notable expeditions include navigating the challenging waters of Newfoundland and the Hudson Strait. Despite facing intense conditions, his passion for kayaking never waned. He holds several British Canoe Union qualifications and has significantly contributed to the kayaking community through teaching and committee work.
In 1985, Foster expanded his horizons by assisting an expedition in Iceland and later founded his own kayaking business, sharing his expertise globally.